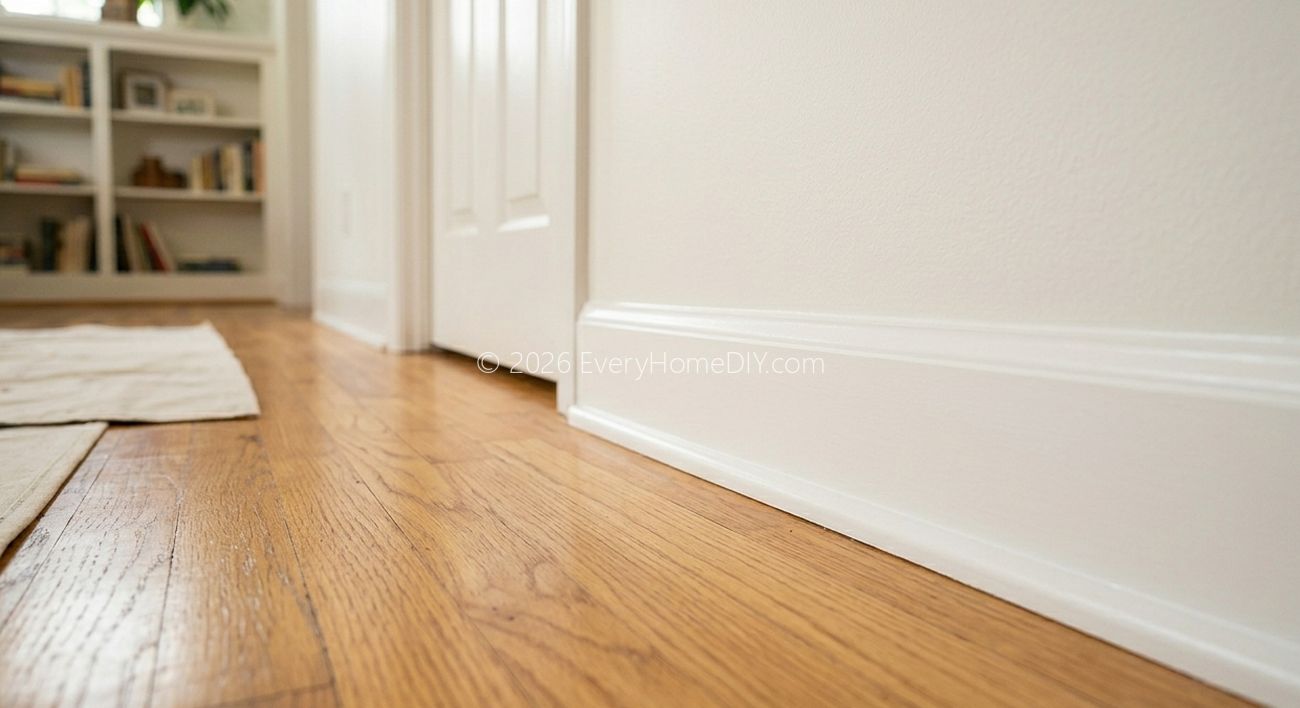
Why New Baseboards Transform a Room
Walk into any high-end home and you'll notice the trim first — tall, substantial baseboards that make walls look like they were designed, not just built. Most tract homes come with 2.5-inch "colonial" baseboards that are functional but forgettable. Replacing them with 3.5 or 4.5-inch baseboards with a more detailed profile costs $150–300 in materials for a standard room but completely changes the character of the space.
Tools You'll Need
- Pry bar and putty knife (for removal)
- Miter saw (a miter box and hand saw works for simple rooms)
- Nail gun or hammer and finish nails (15- or 16-gauge nails, 2–2.5 inches)
- Tape measure and pencil
- Stud finder
- Caulk and paintable caulk gun
- Wood filler / spackling
- Sandpaper (120 grit)
- Paint and brush for touch-up
Step 1: Remove the Old Baseboards
Score the paint line at the top of the baseboard with a utility knife before prying — this prevents tearing the drywall paper. Slide a putty knife between the baseboard and wall to protect the drywall, then use your pry bar against the putty knife (not directly against the wall). Work along the entire length before trying to pull the board off.
Step 2: Prep the Wall
Remove any remaining nails. Repair any drywall damage with joint compound, let dry, sand smooth. Vacuum the floor/wall junction to remove dust and debris — clean surfaces are essential for caulk adhesion later.
Step 3: Measure and Cut Your New Baseboards
Outside corners get 45-degree miter cuts (two pieces cut at 45 degrees that meet to form a 90-degree corner). Inside corners use a coped joint — one piece runs full length into the corner, the second is coped (profile cut with a jigsaw) to fit over the first. Coped joints are better than mitered inside corners because they don't open up as the wood expands and contracts.
Step 4: Install and Nail
Nail through the baseboard into wall studs (use your stud finder to mark them first) and into the floor plate at the bottom. Use two nails per stud — one high, one low. A nail gun makes this process dramatically faster and cleaner than hand nailing.
Step 5: Caulk, Fill, and Paint
Run a bead of paintable caulk along the top edge where the baseboard meets the wall, and along the bottom edge where it meets the floor. Fill all nail holes with wood filler. Sand smooth when dry. Prime bare wood before painting for the best adhesion and coverage.
Baseboard Profile Selection
Home improvement stores stock dozens of profiles. The most timeless choices are simple ogee or colonial profiles in 3.5 or 4.5-inch heights. Avoid overly ornate profiles in modern homes and simple ranch profiles in traditional homes — match the trim style to the architecture.