Why Painting Your Own Room Is Worth It
Hiring a professional painter can cost anywhere from $300 to $800 per room. With the right preparation and techniques, you can achieve the same results yourself for under $100 in materials. This guide walks you through every step — from prep to the final coat — so you get a clean, professional finish on your first try.
What You'll Need
- Interior latex paint (1–2 gallons depending on room size)
- Primer (if painting over dark colors or bare drywall)
- 2-inch angled brush for cutting in edges
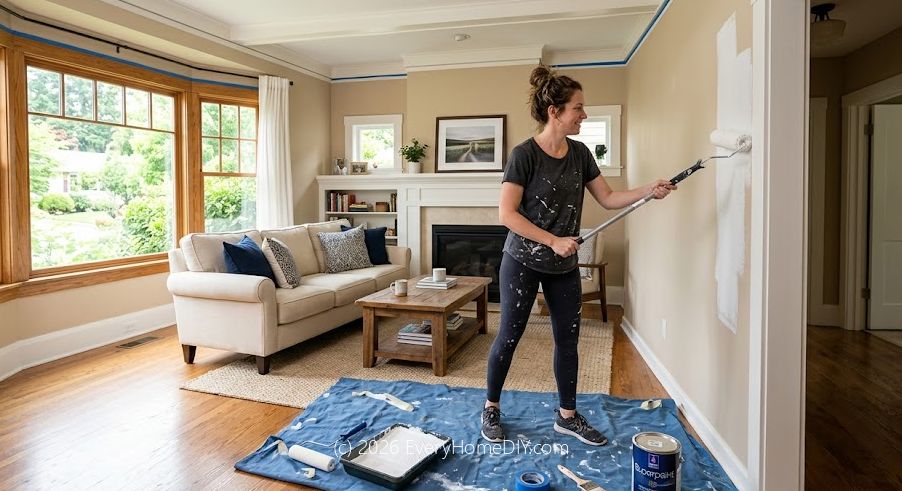
- 9-inch roller with 3/8-inch nap cover
- Roller tray and extension pole
- Painter's tape (blue or green)
- Drop cloths or plastic sheeting
- Sandpaper (120-grit) and sanding sponge
- Spackling compound and putty knife
- TSP cleaner or sugar soap
Step 1: Prep the Room
Preparation is the most important part of any paint job. Remove all furniture from the room, or push it to the center and cover it with drop cloths. Take down curtains, switch plates, and outlet covers. Lay drop cloths on the floor along all walls.
Clean the walls with TSP cleaner or sugar soap mixed with warm water. This removes grease, dust, and grime that would prevent paint from adhering properly. Let the walls dry completely — at least 2 hours.
Step 2: Repair Imperfections
Inspect your walls closely for nail holes, cracks, or dents. Fill small holes with spackling compound using a putty knife. For larger cracks, apply joint compound in thin layers, letting each layer dry before applying the next. Once dry, sand smooth with 120-grit sandpaper and wipe away dust with a damp cloth.
Step 3: Apply Painter's Tape
Run painter's tape along baseboards, door frames, window trim, and ceiling edges where they meet the wall. Press the tape down firmly with a putty knife to prevent paint from bleeding underneath. Remove the tape at a 45-degree angle while the paint is still slightly wet for the cleanest edge.
Step 4: Prime If Needed
Use a primer if you are painting over a dark color, bare drywall, or stained surfaces. Primer improves coverage and helps your topcoat color look true. Apply primer with a roller the same way you would apply paint, and let it dry for at least 2 hours before painting.
Step 5: Cut In the Edges
Before using the roller, use your angled brush to "cut in" — painting a 2–3 inch band along all edges where the roller cannot reach: corners, ceiling line, and baseboards. Keep a steady hand and work in short strokes. This step defines the quality of your finish.
Step 6: Roll the Walls
Load your roller evenly in the tray — it should be saturated but not dripping. Start in one corner and work in a W or M pattern, then fill in without lifting the roller. Overlap each stroke slightly with the previous one to avoid lap marks. Work top to bottom, keeping a wet edge at all times.
Apply at least two coats for even coverage. Wait 2–4 hours between coats (check your paint label). The second coat will look dramatically more uniform than the first.
Step 7: Clean Up
Remove painter's tape while the paint is still slightly tacky — this gives the cleanest edge. Wash brushes and rollers immediately with warm soapy water if using latex paint. Store leftover paint in a sealed container in a cool, dry place for touch-ups.
Pro Tips for a Flawless Finish
- Paint in natural light so you can spot missed spots and roller marks.
- Keep a wet edge — never let the edge of your painted section dry before continuing.
- Roll in one direction on the final pass for a consistent texture.
- Use quality paint — cheap paint requires more coats and rarely looks good.
- Temperature matters — paint between 50°F and 85°F for best results.