Why You Should Fix That Drip Today
A faucet that drips once per second wastes more than 3,000 gallons of water per year — that's the equivalent of 180 showers. Beyond the environmental impact, that wasted water adds up on your utility bill. The good news: most leaky faucets can be fixed in under 30 minutes with tools you probably already own.
Identify Your Faucet Type
Before you buy parts, you need to know what type of faucet you have:
- Ball faucet: Single handle that rotates over a rounded ball-shaped cap. Common in kitchens. (e.g., Delta)
- Cartridge faucet: Single or double handle. Moves up/down for volume and side to side for temperature. (e.g., Moen)
- Compression faucet: Two separate handles, one hot and one cold. Older style — you tighten the handle to shut off water.
- Ceramic disc faucet: Single lever over a wide cylindrical body. Very durable. (e.g., American Standard)
Tools and Parts You'll Need
- Adjustable wrench
- Phillips and flathead screwdrivers
- Needle-nose pliers
- Replacement O-rings, washers, or cartridge (match your faucet brand)
- Plumber's grease
- White vinegar (for mineral deposits)
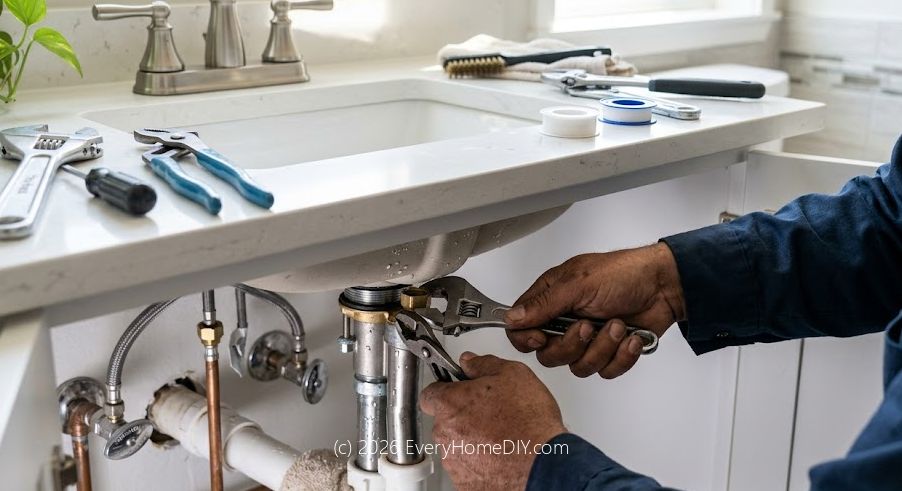
Step 1: Turn Off the Water Supply
Look under the sink for the shutoff valves — one for hot, one for cold. Turn them clockwise until they stop. Then open the faucet to release any remaining pressure and drain the lines. Place a towel in the sink to catch drips and small parts.
Step 2: Remove the Faucet Handle
Most handles have a decorative cap on top hiding a screw. Pry off the cap with a flathead screwdriver, remove the screw, and pull the handle straight up. If it's stuck, wiggle gently — never force it or you may crack the body.
Step 3: Replace the Worn Part
For compression faucets: You'll see a rubber washer at the bottom of the stem held by a brass screw. This washer is almost always the culprit. Replace it with an exact match from your hardware store (bring the old one).
For cartridge faucets: Pull the cartridge straight out — note its orientation. Take it to the hardware store to find the exact replacement, or look up your faucet model number. Insert the new cartridge in the same orientation.
For ball faucets: Buy a repair kit specific to your brand. It includes all the seats, springs, O-rings, and a new ball. Replace everything in the kit — they are all inexpensive and it prevents future leaks.
Step 4: Reassemble and Test
Reassemble in reverse order. Before tightening everything fully, turn the water supply back on slowly and check for leaks. Tighten any connections that drip. Turn the handle on and off a few times — the repair is complete when there is no drip with the faucet fully off.
When to Call a Plumber
If you see water damage around the base of the faucet, corrosion on supply lines, or the leak is coming from inside the wall, call a professional. These indicate bigger issues beyond a simple washer replacement.